
There are two ways to get photos off your iPhone and onto a Windows PC. The built-in ones use a USB cable or iCloud. Camera to Clipboard sends the photo across your own Wi-Fi instead. This guide covers both.
The quick answer: The fastest route is a direct wireless transfer over your own Wi-Fi. Camera to Clipboard drops the photo into your PC's clipboard in seconds, ready to paste. Nothing is uploaded, and you need no cable. The free built-in USB and iCloud methods are further down.
Free for iPhone Free for Mac Free for Android Free for Windows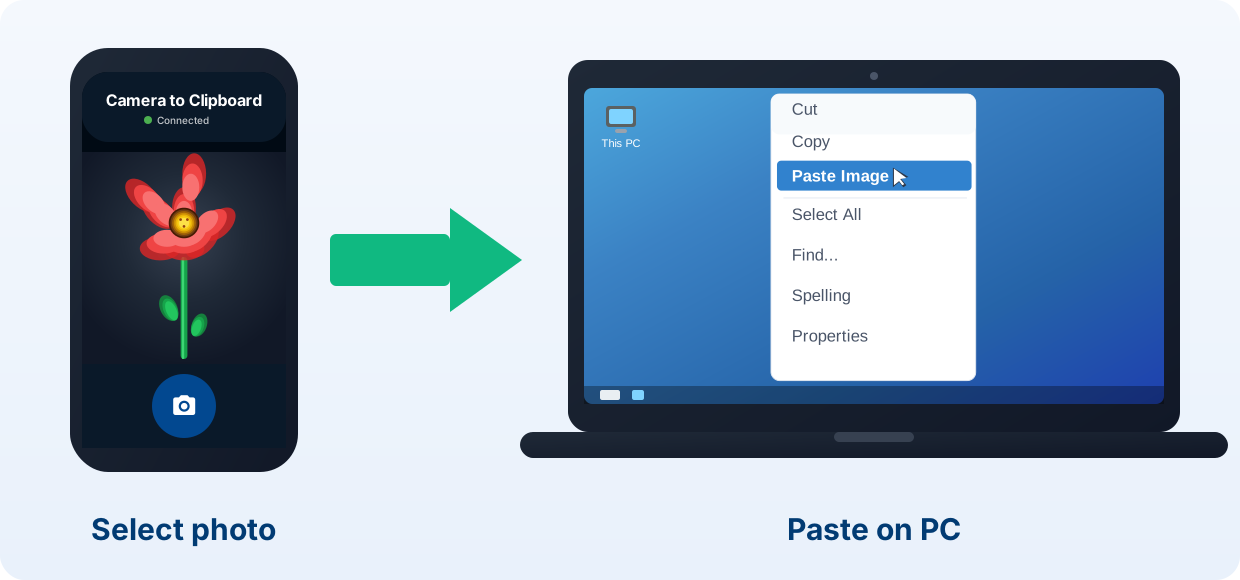
Camera to Clipboard puts an iPhone photo on your PC clipboard
Here is what the app does when the PC is the screen you need.
- Camera to Clipboard puts an iPhone photo on the Windows clipboard in seconds. Take a photo, or pick one from your library. It arrives before you put the phone down.
- An iPhone photo sent with Camera to Clipboard pastes with Ctrl + V. It drops into an email, a chat, a Word document or an image editor. No file lands in a folder.
- Camera to Clipboard carries the iPhone photo straight across your own Wi-Fi. Nothing is uploaded to a cloud server. Your iPhone's own hotspot works too.
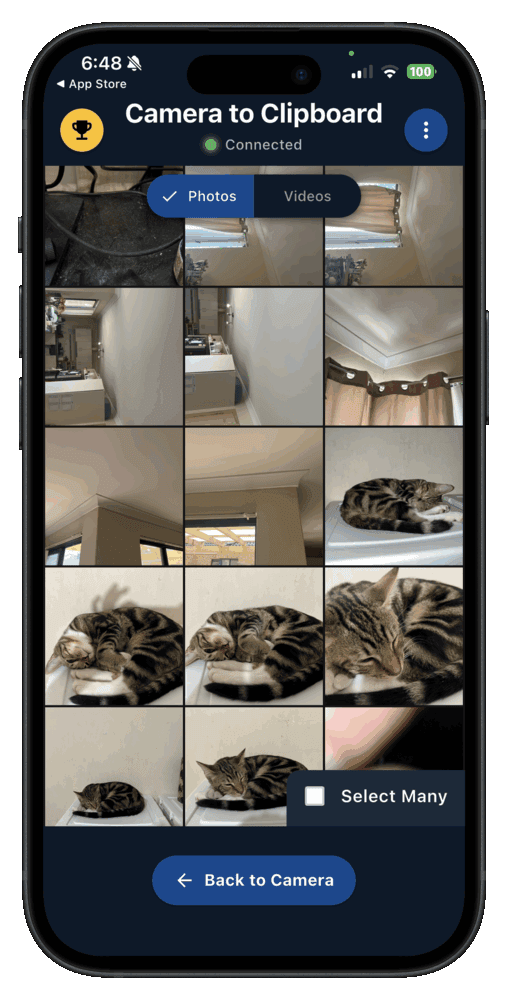
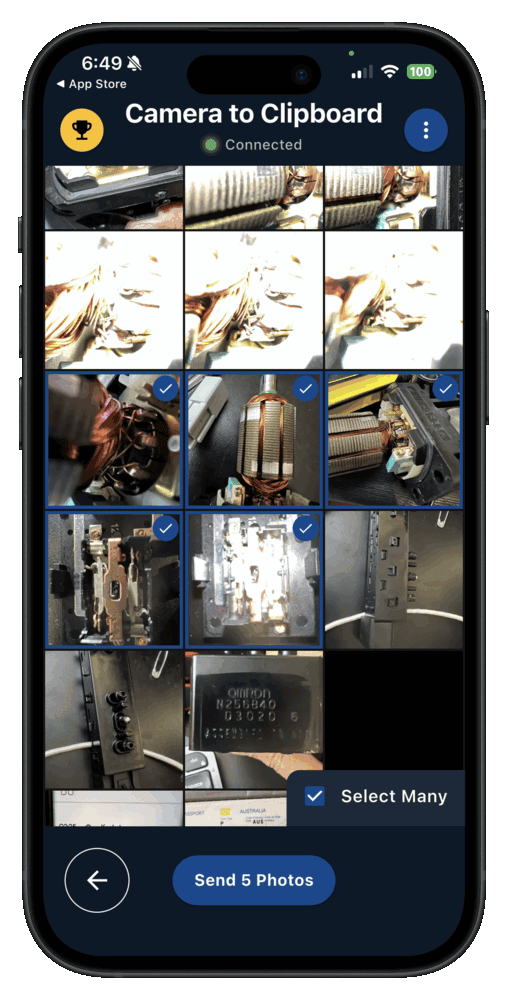
Set up Camera to Clipboard on your iPhone and PC in four steps
Pairing happens once, and it takes about ten seconds.
- Install Camera to Clipboard on your iPhone and the desktop app on your PC.
- Pair them once by scanning a QR code.
- On the iPhone, take a photo or pick one from your library.
- Press Ctrl + V on your PC to paste it.
Free to download and try on both the iPhone and Windows. The free version adds a small watermark and caps photos at 1920px. Pro removes both.
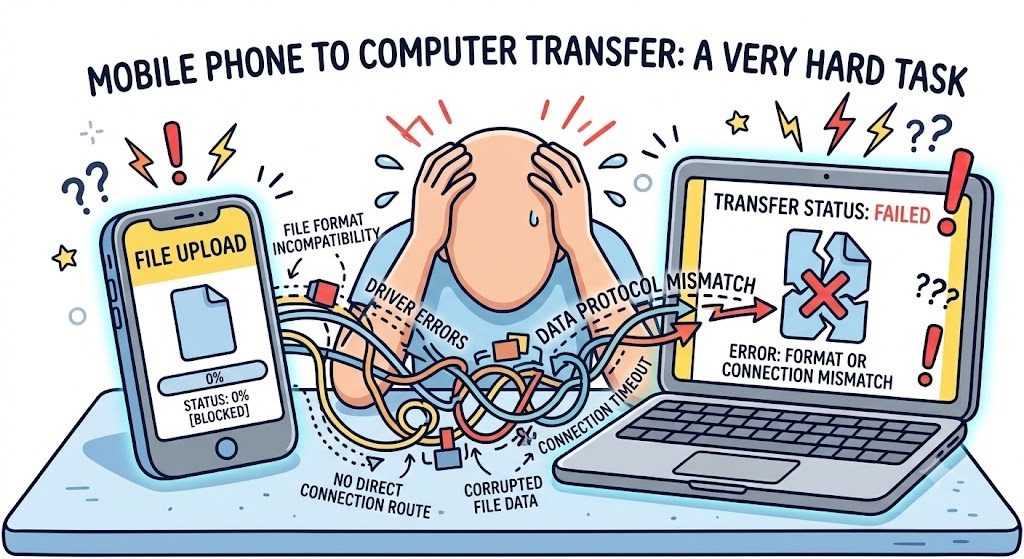
Apple and Microsoft never built a simple iPhone to PC photo path
That gap is why the job goes wrong so often, in three familiar ways.
- A USB import can hand a Windows PC HEIC files it will not open. HEIC is Apple's photo format. Windows shows an error instead of the picture.
- An iPhone plugged into a PC can charge and show no photos at all. A charge-only lead, or a missing Apple device driver on the PC, is the usual cause.
- An iCloud sync between an iPhone and a PC can stall without saying why. The photo sits in a queue while you wait for it.
If you would rather not install anything new, the free built-in methods are next.
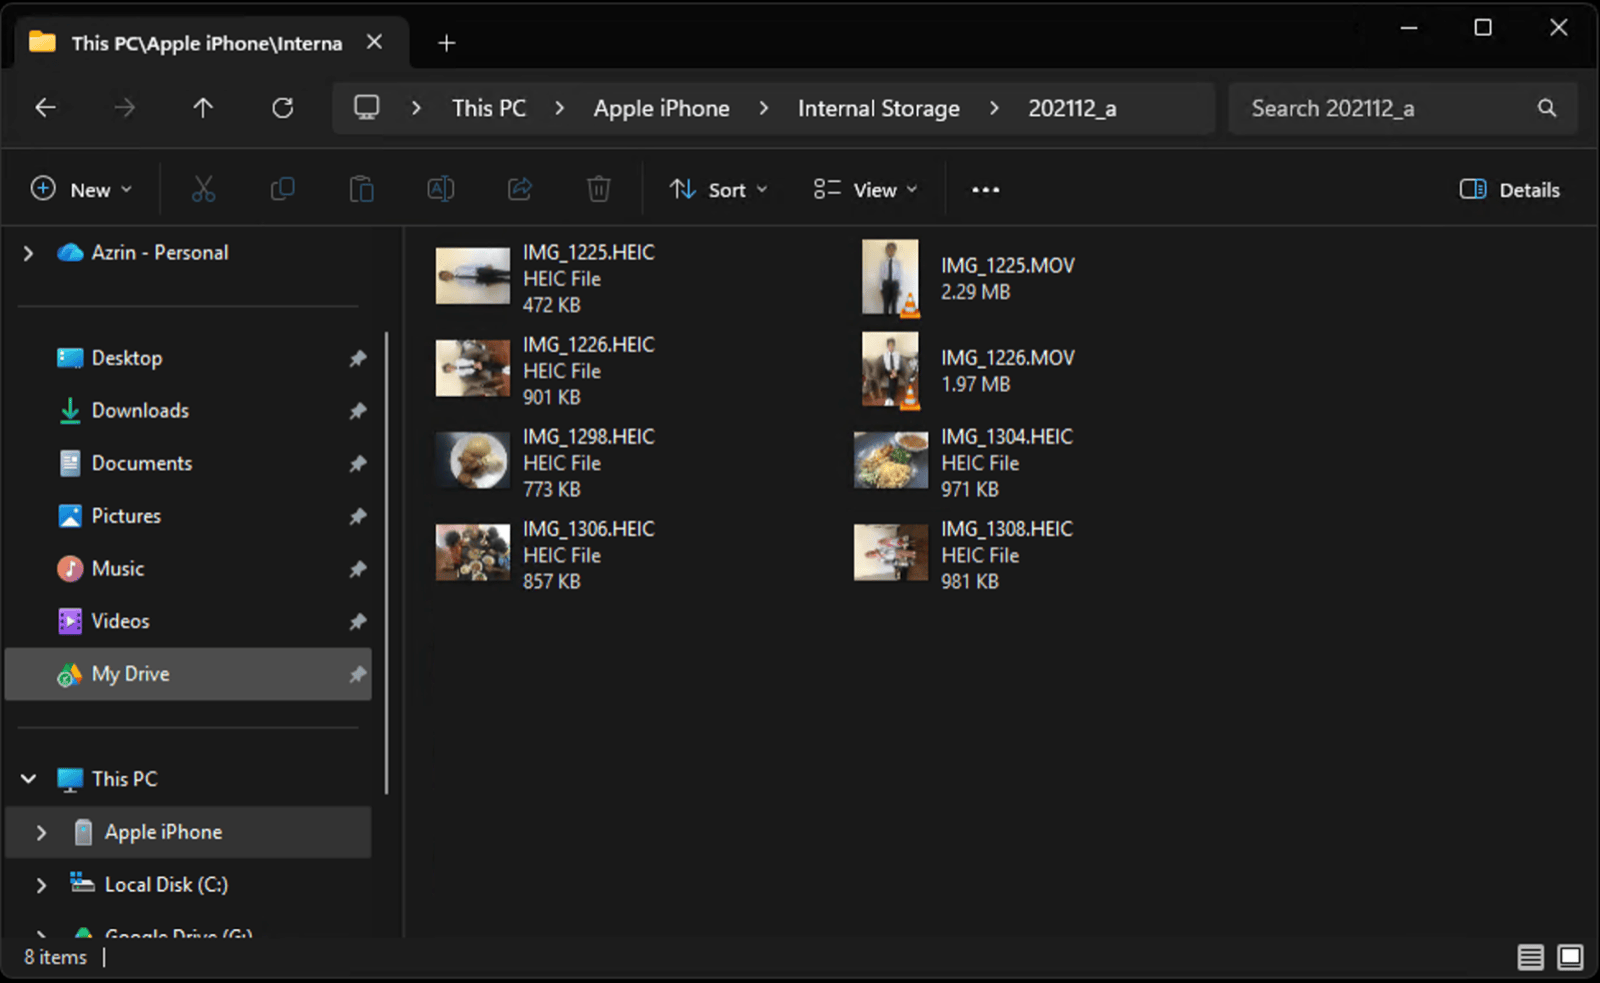
Copy hundreds of iPhone photos to a PC in Windows File Explorer
This is the route to reach for when you are moving a whole camera roll.
- Connect the iPhone to the PC with a data cable.
- Unlock the phone and tap Trust This Computer.
- In File Explorer, open This PC > Apple iPhone > Internal Storage.
- Open DCIM, then drag the photos you want into a folder on the PC.
It needs the cable and a desk, but nothing beats it on a big batch.
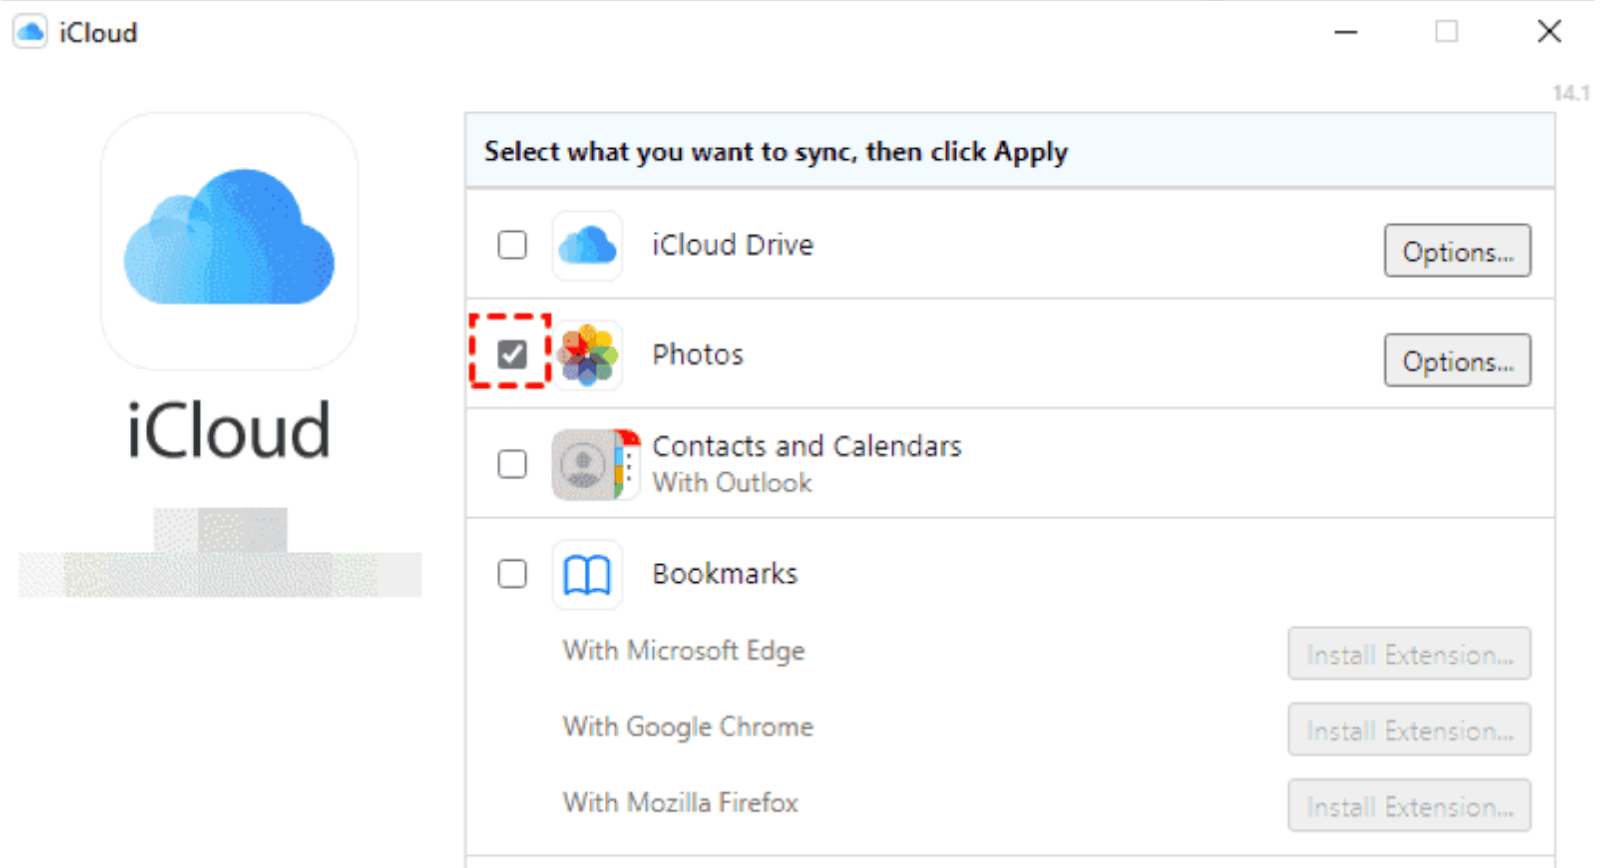
Install iCloud for Windows to mirror an iPhone library on a PC
Apple's own Windows app keeps the whole library in a folder on the PC.
- iCloud for Windows comes from the Microsoft Store and signs in with your Apple ID. Turn on Photos, and your iPhone library syncs down to the PC.
- An iCloud sync suits mirroring everything, not grabbing one picture now. New photos reach the PC on their own while both devices are online.
- Photos synced to a PC through iCloud use up your iCloud storage. A full account stops the sync until you clear space or pay for more.

Back up an iPhone camera roll to OneDrive or Google Photos
Two other cloud apps reach a PC from the other direction.
- OneDrive and Google Photos back up an iPhone camera roll for a PC to download. You then fetch the photo in a browser.
- Emailing an iPhone photo to yourself gets it to a PC with nothing to install. Open the mail on the PC and save the attachment.
- Every cloud route uploads the iPhone photo first, then downloads it again. That double wait is what makes these the slow options.

Emailing an iPhone photo to your PC shrinks it, Wi-Fi does not
Watch the picture quality, because two common routes quietly reduce it.
- Sending an iPhone photo by email or a chat app compresses it. The PC gets a smaller, softer copy of the picture.
- A direct Wi-Fi transfer carries the iPhone photo at full resolution. Camera to Clipboard puts those original pixels on the Windows clipboard.

Set Transfer to Mac or PC to Automatic if HEIC files will not open
A USB import can leave you with .HEIC files Windows refuses to show.
- Settings > Photos > Transfer to Mac or PC on the iPhone should be Automatic. The iPhone then converts each photo to JPEG as it copies, where Keep Originals sends the HEIC file untouched.
- Settings > Camera > Formats set to Most Compatible makes the iPhone shoot JPEG. That fixes future photos. Ones already taken keep the format they were shot in.

Camera to Clipboard beats USB and iCloud for everyday iPhone photos
For the photos you are about to use, three things change.
- Camera to Clipboard sends an iPhone photo to a Windows PC with no cable at all. There is nothing to plug in, and the Trust This Computer prompt never appears.
- An iPhone photo sent with Camera to Clipboard lands on the Windows clipboard, ready for Ctrl + V. It is not filed away as an image you then go hunting for.
- Camera to Clipboard delivers the iPhone photo to the PC at its full original resolution. Email and chat apps hand you a shrunken copy instead.

Camera to Clipboard sends iPhone photos to a PC over your own Wi-Fi
The network side is where this differs most from a cloud sync.
- An iPhone photo sent with Camera to Clipboard goes straight to the PC, never up to a cloud server. There is no upload to sit through, and no iCloud storage is used.
- Camera to Clipboard still moves iPhone photos to a Windows laptop running on the iPhone's own hotspot. The two apps use the internet only to find each other.
| What you want to do | Camera to Clipboard | USB / iCloud |
|---|---|---|
| Get an iPhone photo onto a Windows PC | ✔ | ✔ |
| No cable needed | ✔ | iCloud only, not USB |
| Nothing uploaded to the cloud | ✔ | Uploads to iCloud |
| Photo lands ready to paste | ✔ | Saves a file first |
| Full resolution, no compression | ✔ on Pro | ✔ |
| Works over a phone hotspot | ✔ | iCloud uploads before you can download |
| Uses no iCloud storage | ✔ | Uses iCloud storage |
| Set up in under a minute | ✔ | iCloud install and sign-in |
| Free to download and try | ✔ | ✔ |

Use Camera to Clipboard for a few iPhone photos and USB for hundreds
Which method wins comes down to how many photos you are moving.
- Camera to Clipboard is the best way to get an iPhone photo onto a Windows PC when you are about to use it. Pick it on the phone, then paste it into the email or document.
- A USB cable and Windows File Explorer are the best way to copy hundreds of iPhone photos at once. The whole batch crosses at cable speed, and nothing is uploaded on the way.
- iCloud for Windows or OneDrive are the best way to keep a whole iPhone library mirrored on a PC. New photos reach the PC on their own while both devices stay online.
Common questions
What is the fastest way to transfer photos from iPhone to PC?
A direct wireless transfer over your own Wi-Fi. Camera to Clipboard puts the photo on your Windows clipboard in seconds, with no cable and no cloud.
Can I transfer photos from iPhone to Windows without iTunes or iCloud?
Yes. Use a USB cable with Windows File Explorer, or send the photo wirelessly with Camera to Clipboard. Neither one needs iTunes.
Why won't my iPhone photos import to my PC over USB?
Unlock the iPhone, tap Trust This Computer, and use a data cable. If the files are unreadable HEIC, set Settings > Photos > Transfer to Mac or PC to Automatic.